Difference between revisions of "Height Editing"
imported>Sload (Made the <pre>s <blockquotes>s so that they don't go off the screen or out of their box.) |
imported>Megalomaniakaal m |
||
| Line 8: | Line 8: | ||
Reduce your brush size as you begin refining the mound and making smaller adjustments. Blend with the existing terrain as much as possible, but keep building up, we'll worry about down next. | Reduce your brush size as you begin refining the mound and making smaller adjustments. Blend with the existing terrain as much as possible, but keep building up, we'll worry about down next. | ||
<br>[[Image:tut2_img_2.jpg]]<br> | <br> | ||
[[Image:tut2_img_2.jpg]] | |||
<br> | |||
Now that we've got a basically believable mound for the entrance, switch to a brush size of 2 or 3 and dig out the door. | Now that we've got a basically believable mound for the entrance, switch to a brush size of 2 or 3 and dig out the door. | ||
<blockquote> | <blockquote> | ||
Latest revision as of 14:31, 21 November 2015
Height Editing[edit | edit source]
Height editing is the most fundamental aspect of landscape editing. In this mode, we'll be moving land up and down, massaging it into the shape we want.
CS landscapes are heightmaps, meaning that you can only move vertices in the land mesh up and down.
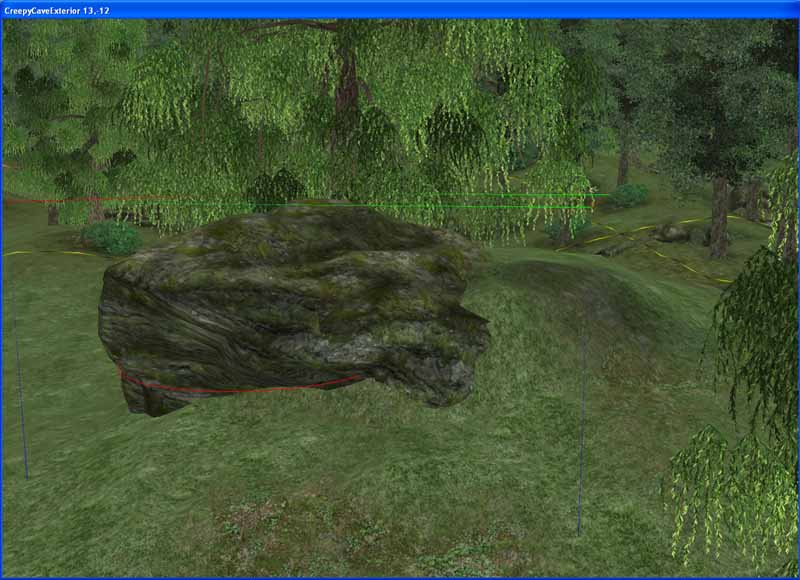
Press "H" to enter landscape mode if you haven't already. I've placed my dungeon entrance in a central area of the cell, and I want to build up a mound behind it to rationalize some rooms just inside the dungeon interior. Bump your edit radius to 4 or 5. Click the land underneath the dungeon entrance and drag it up to start. Don't worry too much about how it looks yet, we just want to make the broad strokes. Build the land up high enough to almost cover the entrance rock, and blend it into the terrain behind it.
Reduce your brush size as you begin refining the mound and making smaller adjustments. Blend with the existing terrain as much as possible, but keep building up, we'll worry about down next.

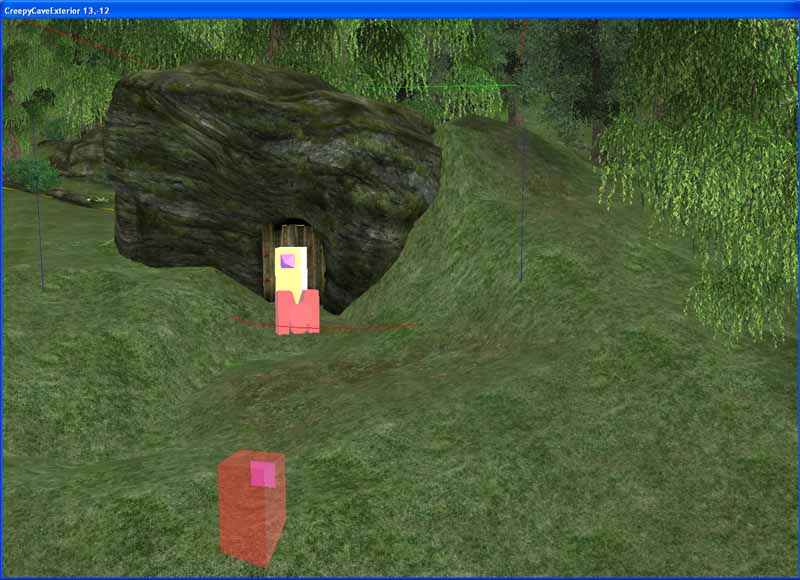
Now that we've got a basically believable mound for the entrance, switch to a brush size of 2 or 3 and dig out the door.
The "W" hotkey toggles wireframe view, and can be useful to analyze the scene while editing.
This image is about what your scene should look like - basically what we want, but very rough, with lots of jagged edges.

To smooth this out, switch to a brush size of 1 and check "Soften Vertices". This tool is very strong, so use it with caution to avoid wrecking your work. Don't hold the mouse button down while using it, just make individual clicks and observe the effects. Smoothing terrain can be very difficult to do, as certain jagged verts only look bad from certain angles. Be patient and keep an eye out for mistakes when playtesting.
ctrl-Z will undo terrain changes, but you're usually making a lot of changes with very little motion in this mode. Because of this, sometimes you cannot ctrl-Z away the mistake you'd like to.
The flatten tool is useful for certain applications, though we don't need to use it here. Like soften, the flatten tool is very strong and should be used with caution.
Once you're happy with the lay of the land, we'll start laying down some terrain textures.
Part 3: Terrain Texturing