Terrain Texturing
Terrain Texturing
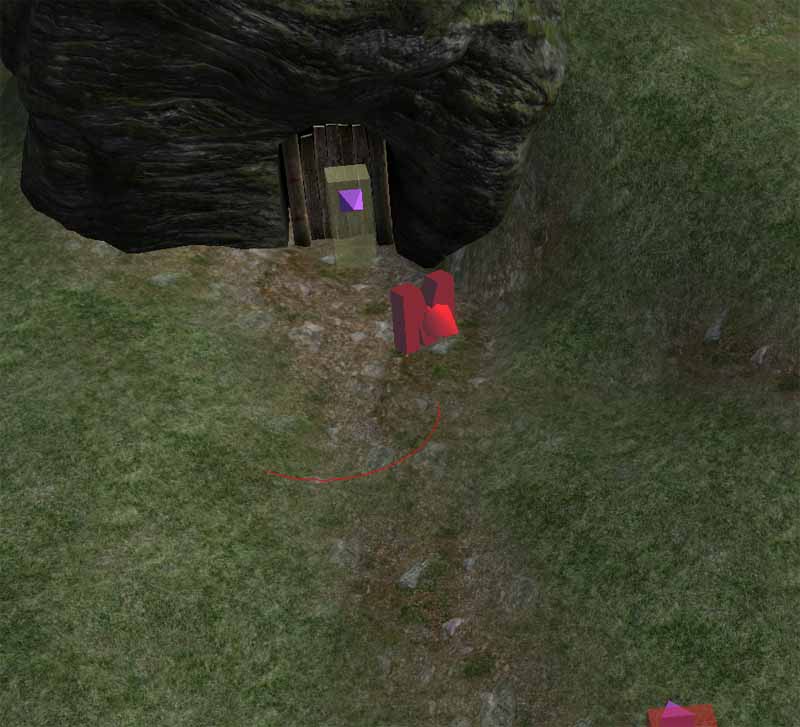
As it stands, we have a rock and door slapped onto some mounded terrain. In order to make this formation feel more like a natural part of its surroundings, we need to do a few things. Let's start with some dirt around the entrance.
While holding ctrl, right-click on some dirt in the area, you'll notice that you copy this to your selected texture preview in the landscape editing window.
Textures can be selected from the landscape window list, but this isn't usually recommended. Each cell has a finite number of permitted textures, so copying existing ones is best.
While holding the right mouse button, paint the terrain under the door with your dirt texture. A good technique is to start out with a rough outline of the dirty area, then select the neighboring grass texture and soften the edges of the dirty patch. As you make fine adjustments, lower your opacity setting, and use tapping action on the mouse button rather than long strokes.
The shift-C hotkey toggles object rendering off, and can be useful while landscaping.
When fine-tuning your landscape texturing, it's handy to know about the "i" hotkey. While working in the Render Window, press i to bring up the Cell Textures by Quad window. This window contains information about textures in the cell currently being edited (the one where your red cursor is seen), allowing you to easily analyze the density of particular textures, and by proxy; grass density. Reducing texture count and/or grass density is a good way to improve performance if you're having trouble optimizing an exterior area.
The quad data is arranged in the same orientation as the cell when using T to get a top view of the cell; that is, the northeast quad is seen at the top-right of the i hotkey window.
Vertex Shading
Vertex shading is a special mode of landscaping. In this mode we are able to affect how the game renders terrain textures, which we use to give the impression of shadows. It can also be used to color terrain, but this is not recommended except in certain special cases.
The Q hotkey can also be used to toggle vertex shading mode.
The two color blocks in this portion of the landscape editing window represent your left and right mouse buttons. The left swatch is usually occupied by some shade of gray. The right swatch is generally left white, which acts as an eraser. The two rows of swatches below can be used to save various shades you use frequently. I recommend populating four or five of those panes with various gray tones.
For now, choose about a 50% gray and leave the right swatch white. In the same way that we painted the texture, paint a shadow pooling around the base of the rock. Be mindful of the terrain shape while doing this, and paint long shadows under overhangs, and small ones where the ground is almost level with the rock edge.
Notice how the polygon behind the door hole in the rock is flat black? Select a full black for your left swatch. We're going to paint a small bit of the ground behind the door black to help this effect. With a few careful blots of black, turn the hard edge where this polygon meets the ground into a soft, believable shadow.
Switching the door to wireframe may help here.
Select it in normal editing mode and press 1 to do this.
Reload the cell with F5 or toggle the object again to undo this.
If you want to use a new texture for your landscape, you can do this in the "Object Window" under "Miscellaneous"/"LandTexture".


