3ds Max: Custom Shield
This article has been marked by editors as one needing attention. Please see the Talk page for details. If you can update the article, please do so.
Saiz's Custom Shields How To Guide: V 1.7 With Pics[edit | edit source]
In this tutorial I am using 3dsmax 7. 3ds max 6 users might have some difficulties, but 3ds max 8 users Should be alright. If you have any questions visit the original discussion thread on the Elder Scrolls forum.
Tools Required or would be useful[edit | edit source]
- CIV4 Nif Exporter for 3dsmax 6 and 7.
- Note: Max 7 plugins should work for 8 too
- 3dsmax 30 day trial
- NifSkope
- Texporter - outputs uvs in an easy way to texture
- Maya - No longer an active project.
Notes on Maya:
Not Supported for Imports:
Animation of any kind
Oblivion Havok collision information.
Special nodes like Billboards lose their special properties.
Cameras
Lights
Environment Maps

Not Supported for Exports:
Animation of any kind
Oblivion Havok collision information.
Cameras
Lights
Environment Maps
See here for more information on what is supported by the Maya plug-in.
1. Select a reference shield. Pic
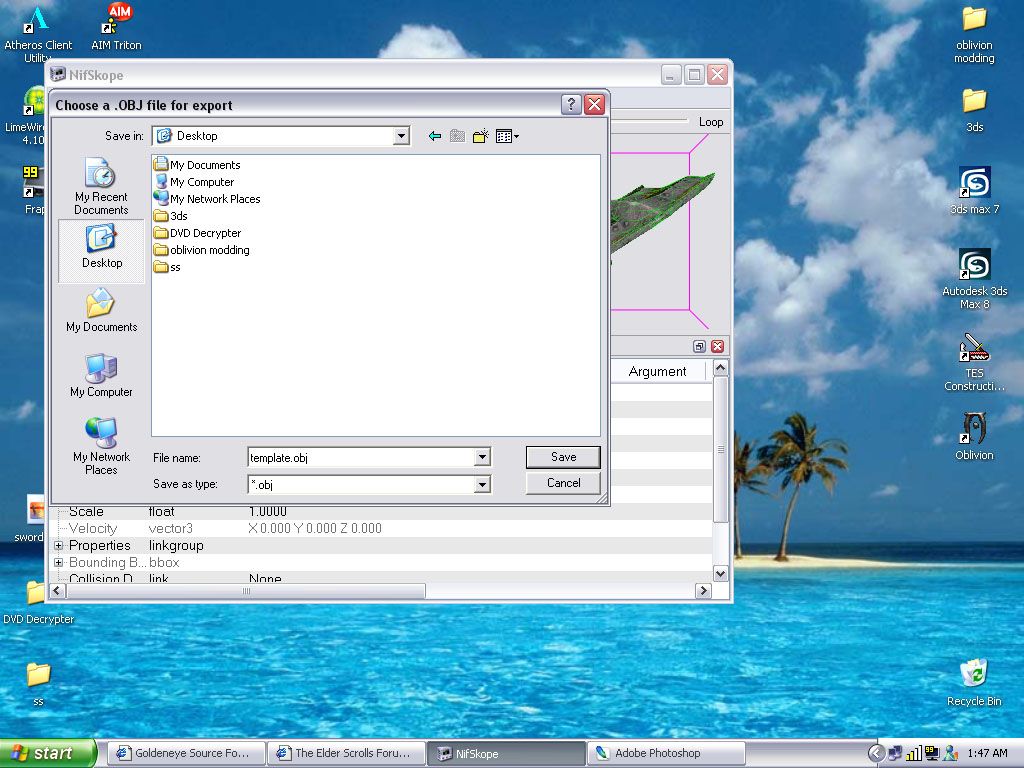
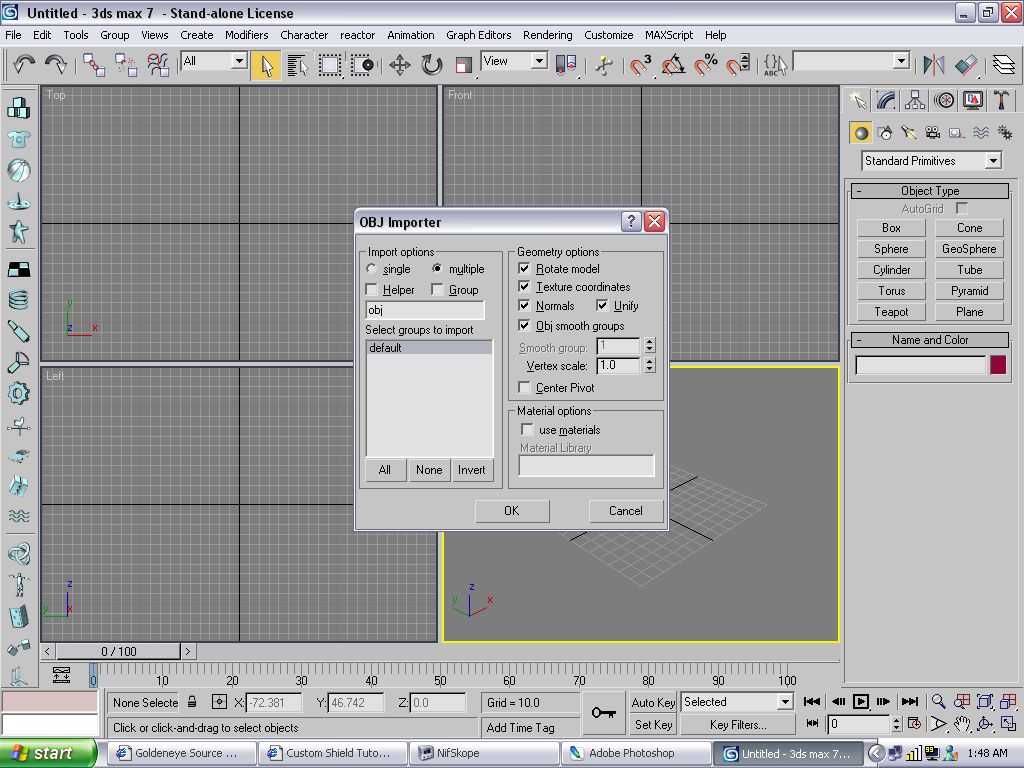
2. Export that shield as a .obj and import in to 3dsmax Pic
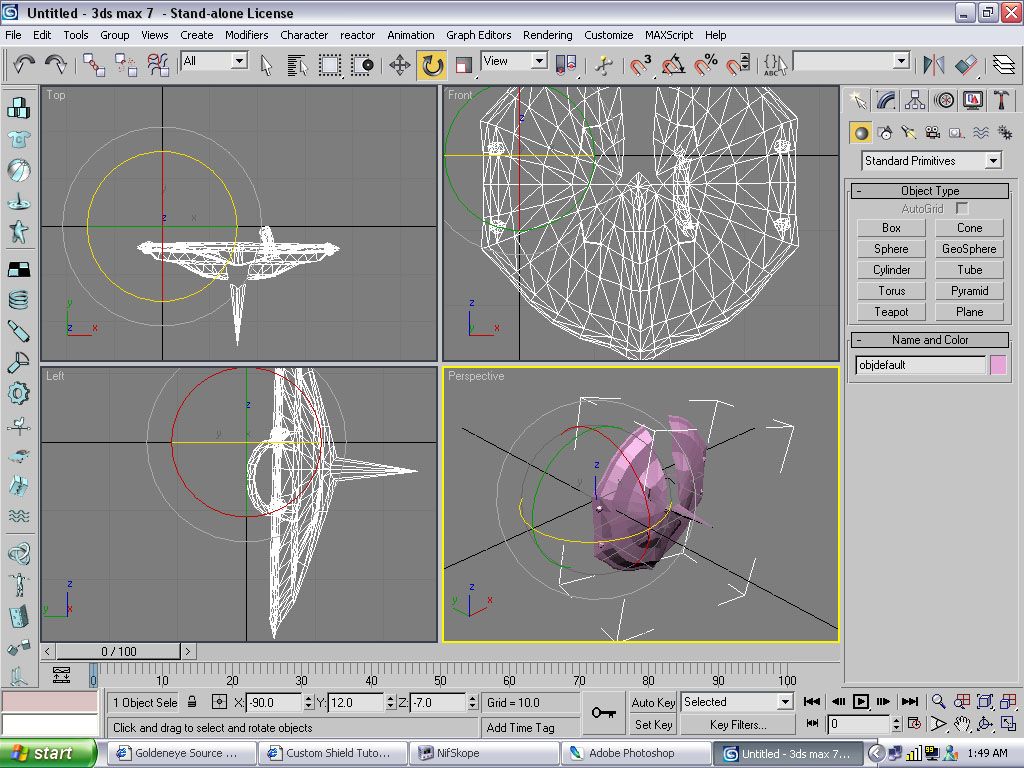
3. When imported click on the model in the perspective window. Then rotate -90 on the x axis, 12 degrees on the y and -7 on the z], that should have straightened out the shield Pic Pic2
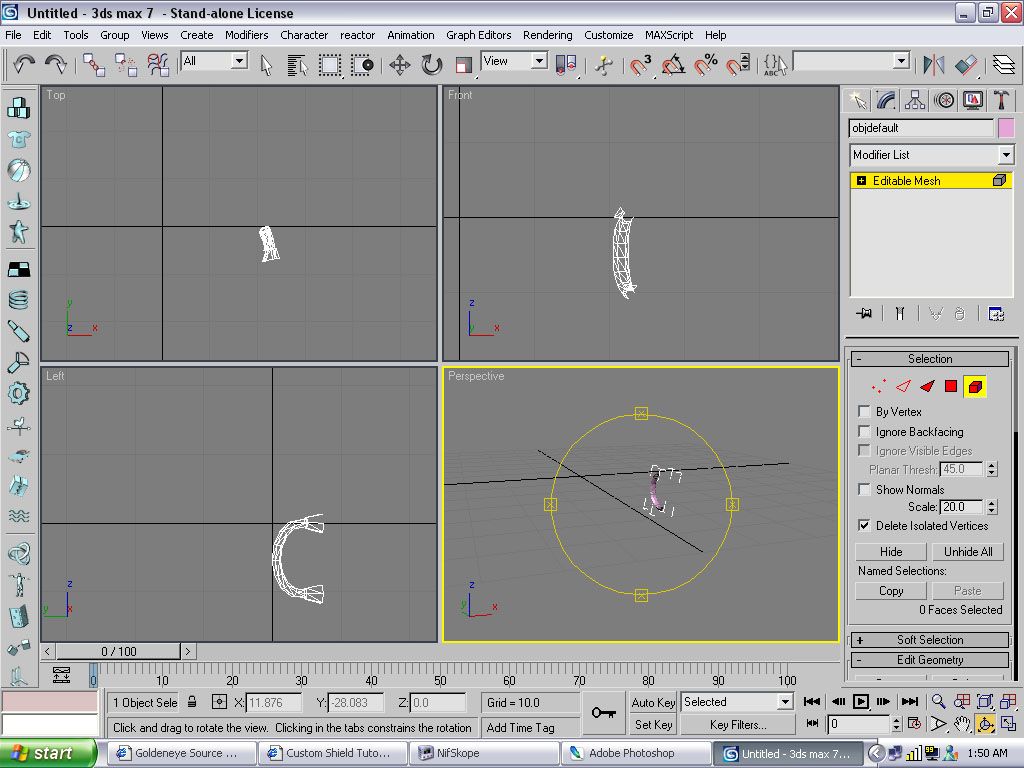
4. Now you can delete everything BUT THE HANDLE Pic
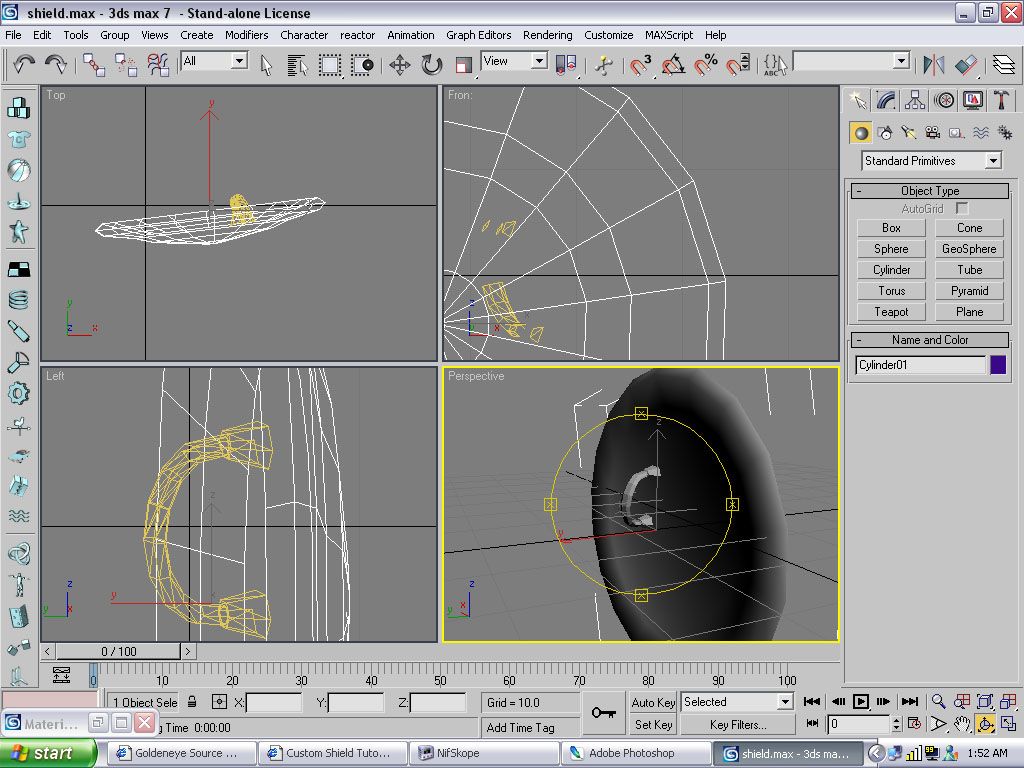
5. Make your custom shield now. Pic
6. Then uv map your new shield and the handle. Now output the uvs and texture it.
7. After you are done texturing save as a dds and using a blinn texture click on the diffuse box and select bitmap. Now select the texture you made. Pic Pic2
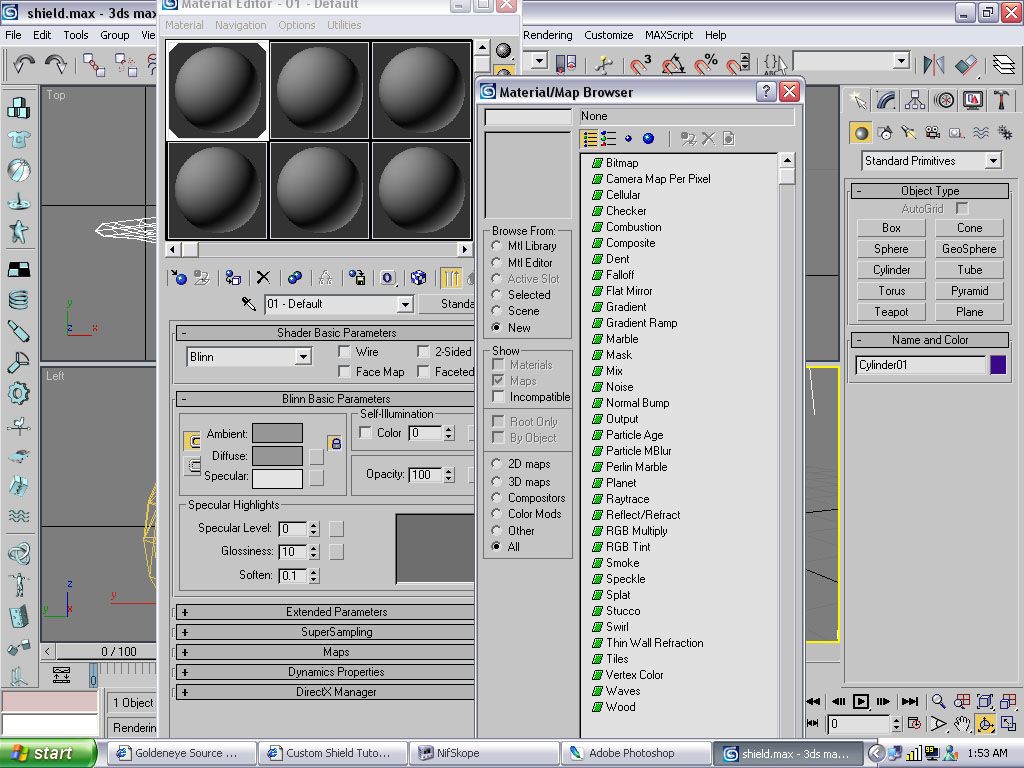
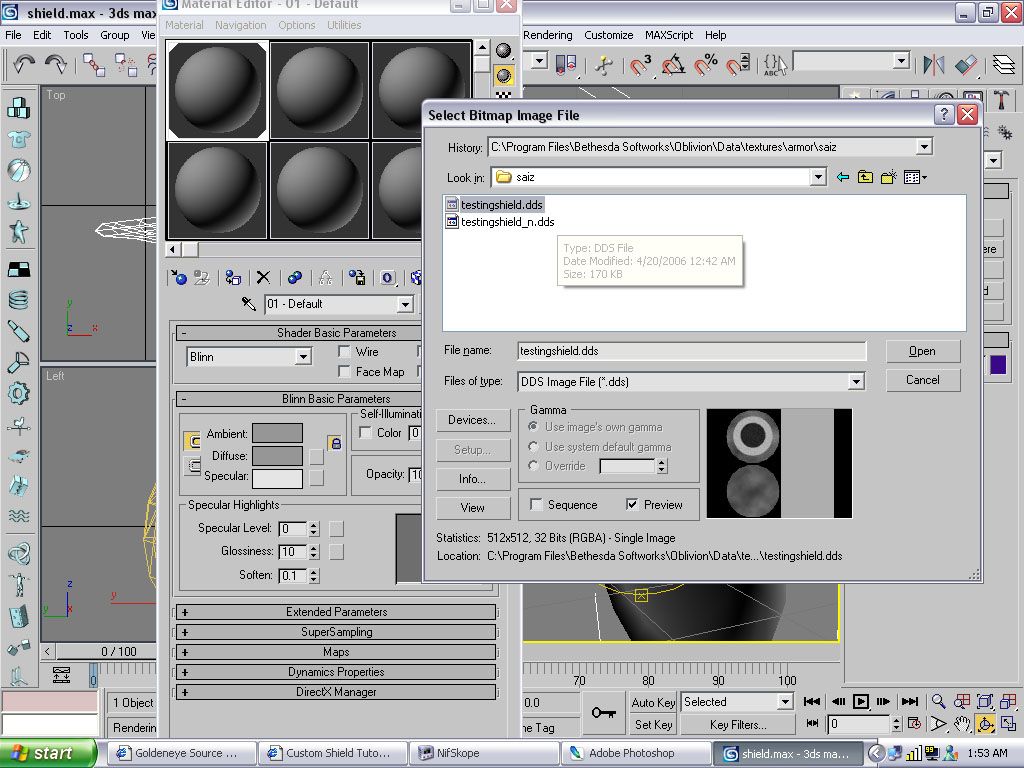
8. Now click the handle and rotate y from 12 back to 0, and the Z from -7 back to 0 Pic
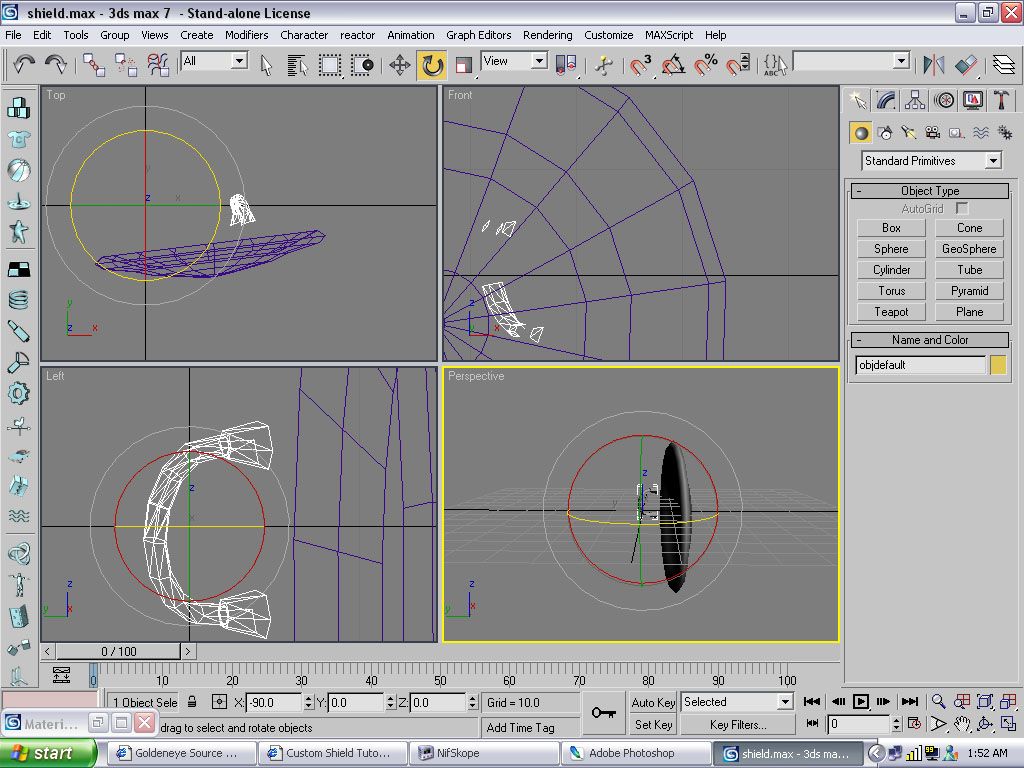
9. Now you can select your New Shield and rotate the y to -12 and the z to 7 If done correctly the new shield and the old handle should line up. Other wise move your shield back so they match up. Pic Pic2
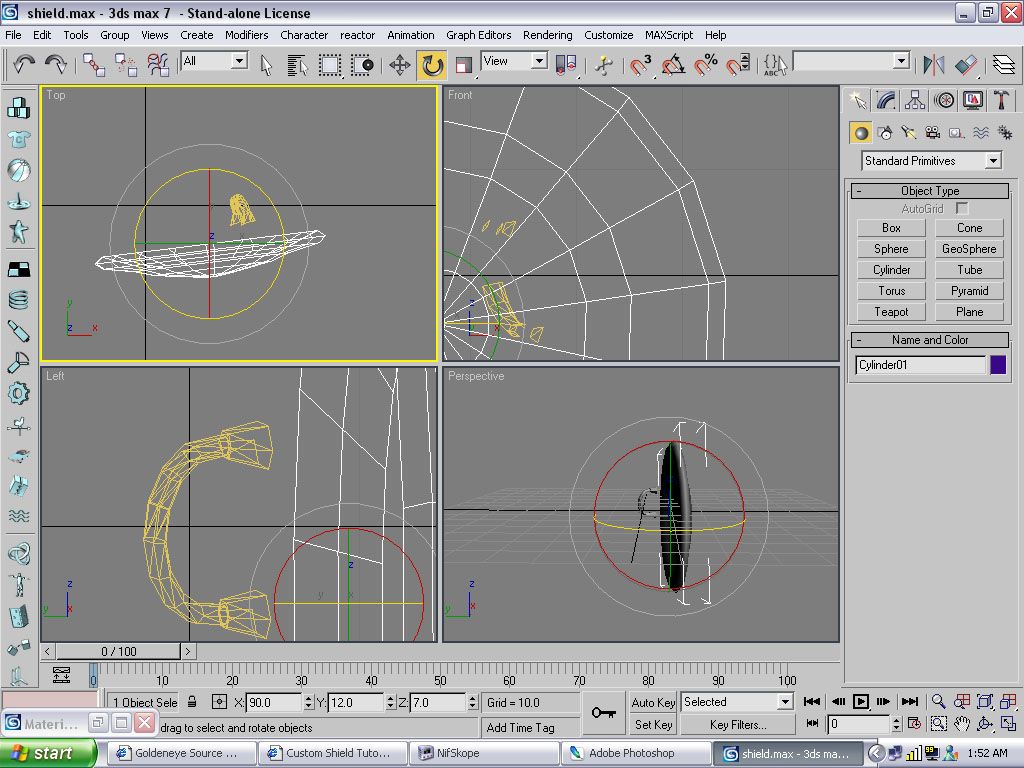
From now on thanks to EdgeofForever
***Note: First- make sure you DON'T flip your DDS's. Civ4 takes care of the coord stuff for you.
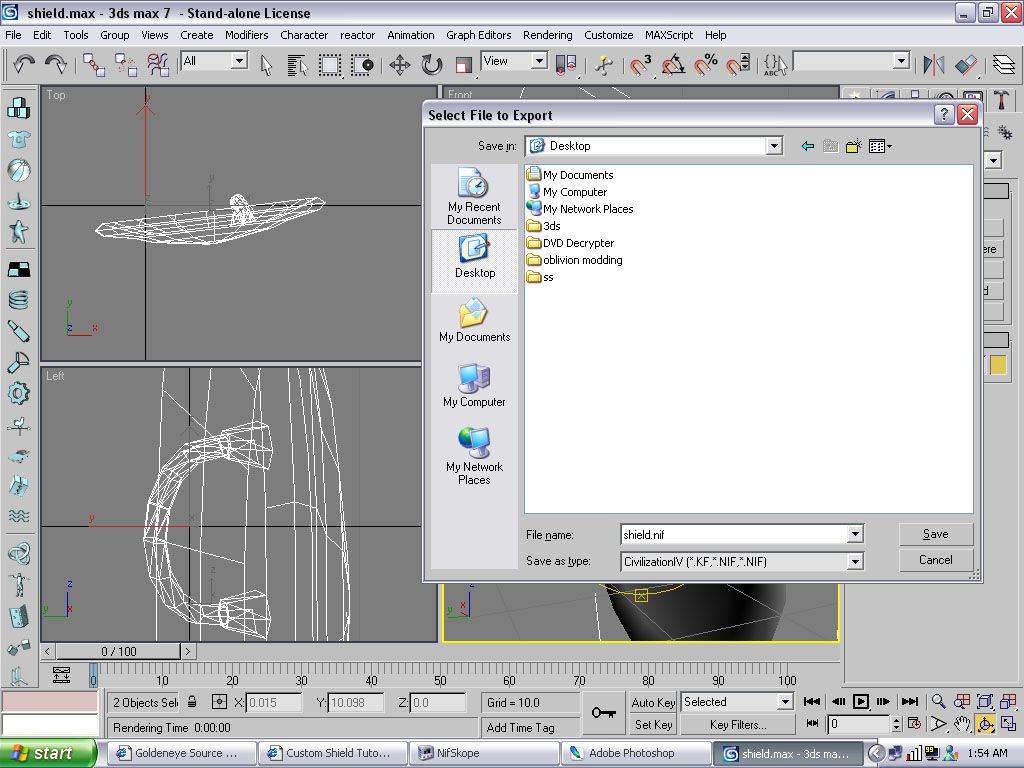
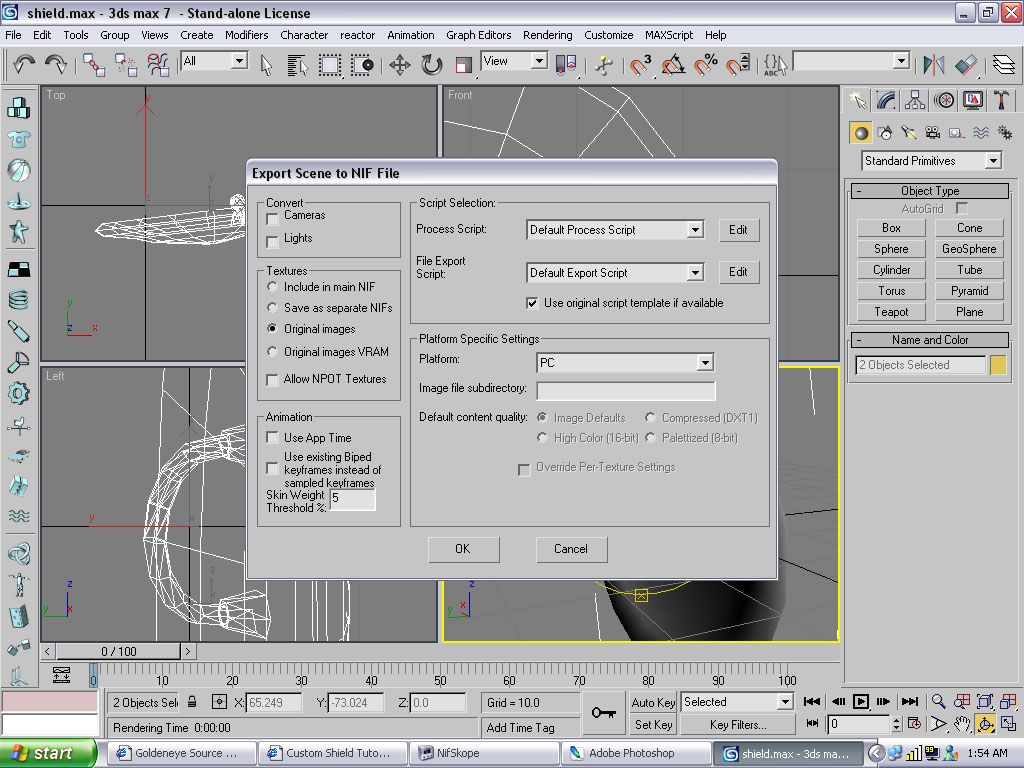
10. You'll need Max and the Civ 4 plugin. Export with original images selected. Pic Pic2
***Note: The error "WARNING: Map, "01 - Default", has a DIFFUSE MAP with alpha in the image, but has no OPACITY MAP. Please add the same texture as an OPACITY MAP to apply alpha." is uncommon but whenever I export ignoring that error the mesh still functions fine for me.
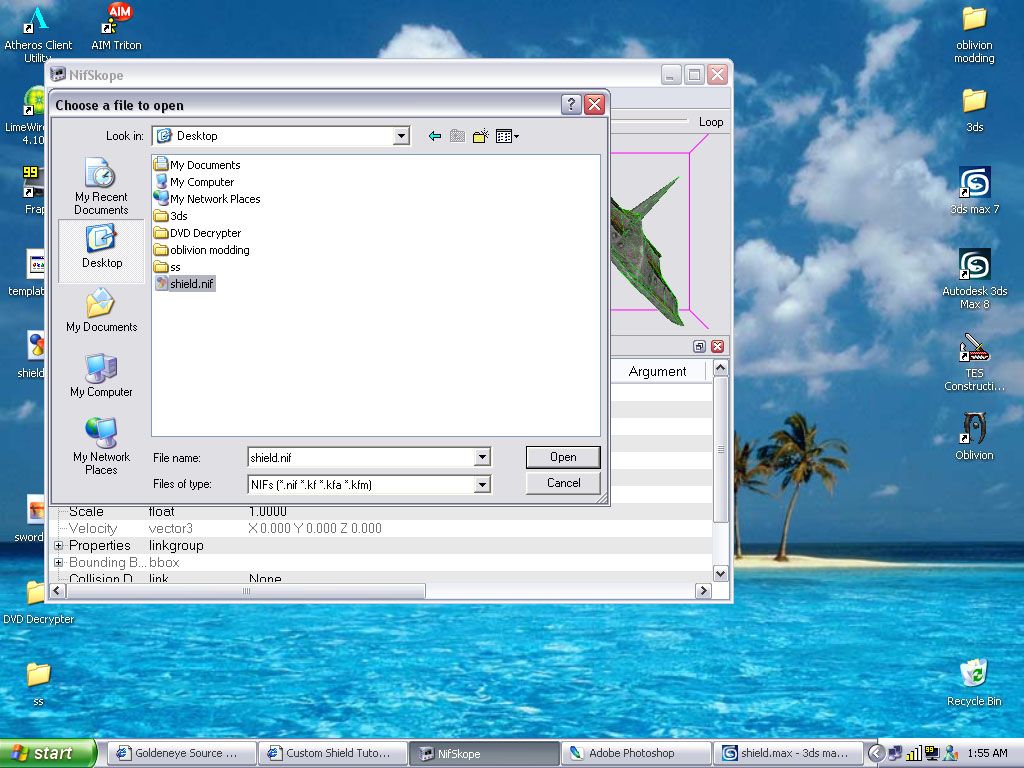
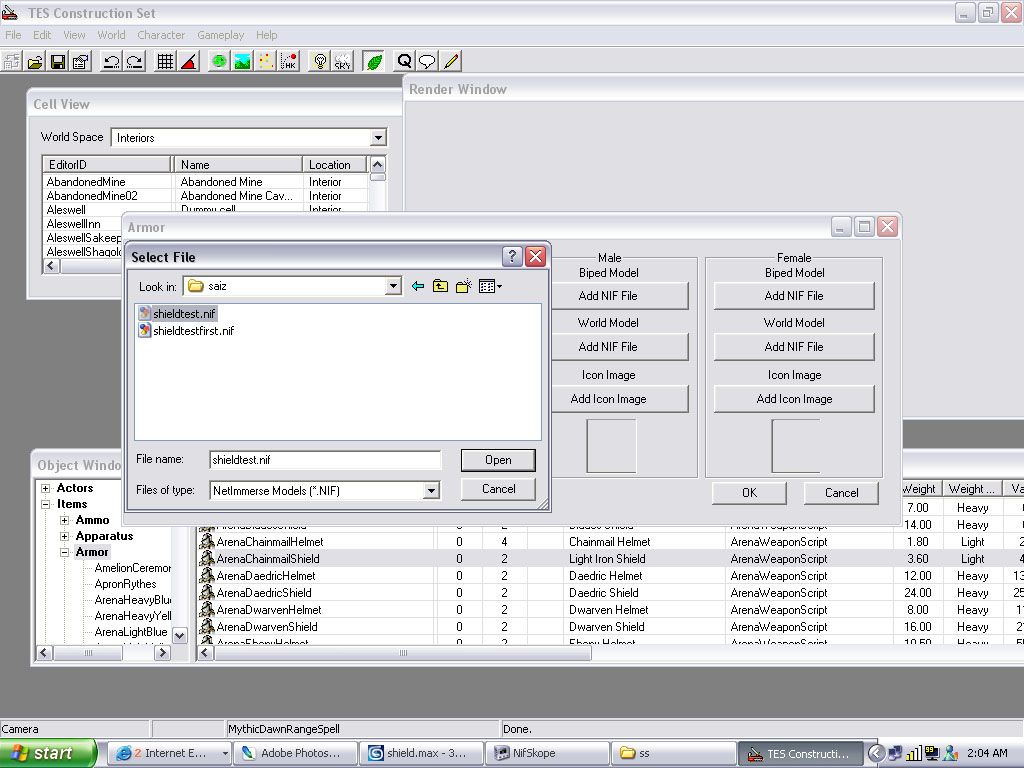
11. Load up NifSkope, and load the .nif file you exported. MAKE SURE YOU HAVE A TEXTURE BLOCK ALREADY IN THE FILE. IF NOT, YOU EXPORTED WRONG. Copy the NiTriStrip branch. Now load a default shield from the game- like a imperial guard shield - in the same instance of NifSkope (A new window doesn't work for me). Pic Pic2
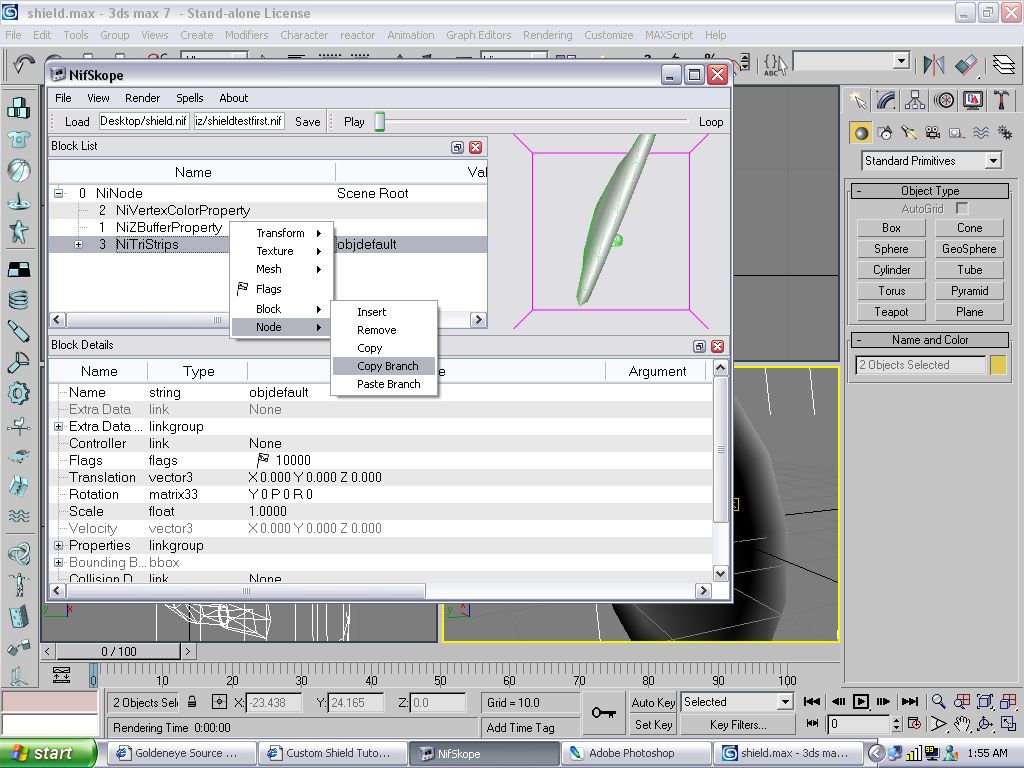
12. Paste your branch.
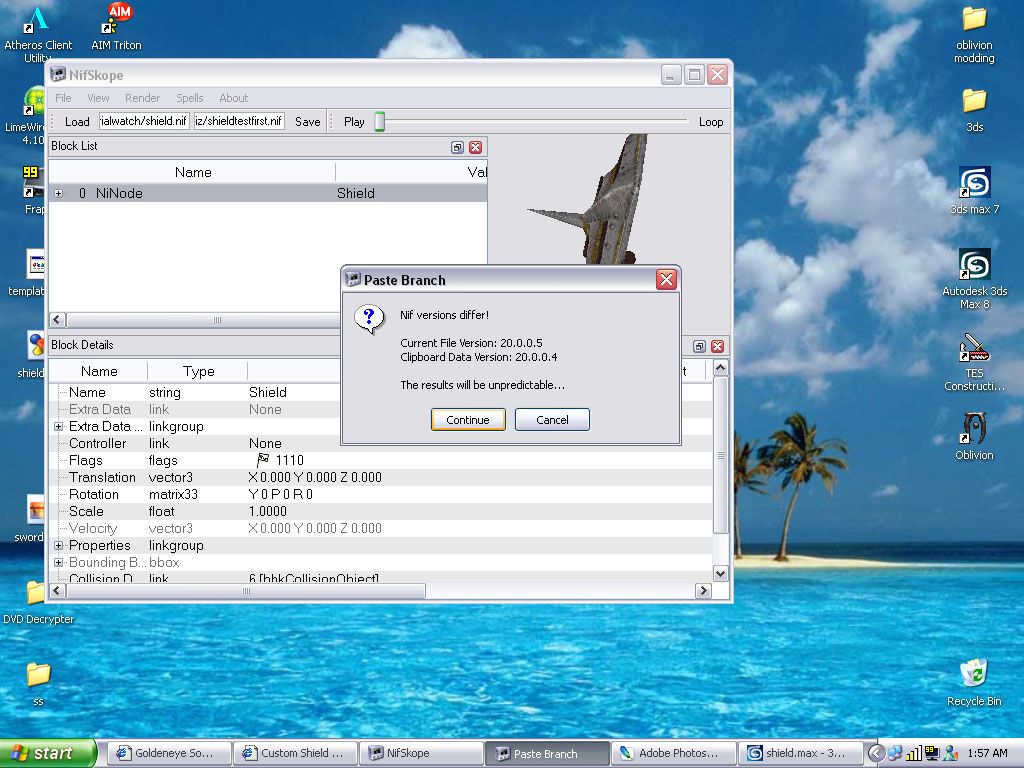
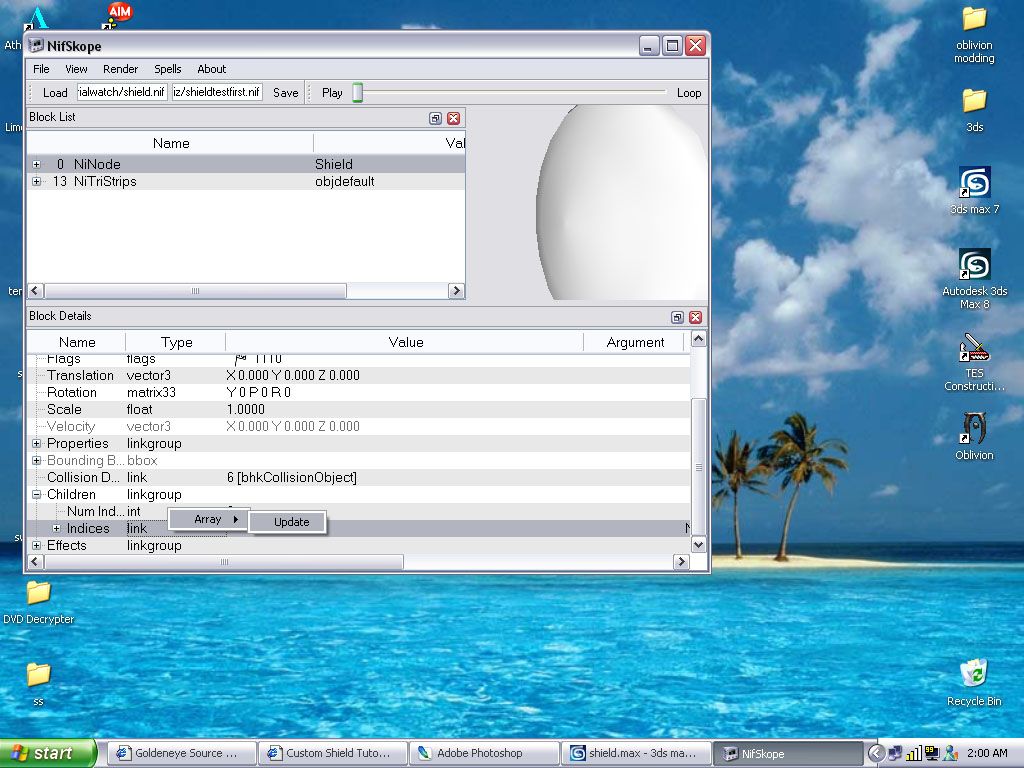
13. Now go check NiNode, expand the "children" subdirectory. Change Num Indices to 2. Click on the Indices bar below it. Pic
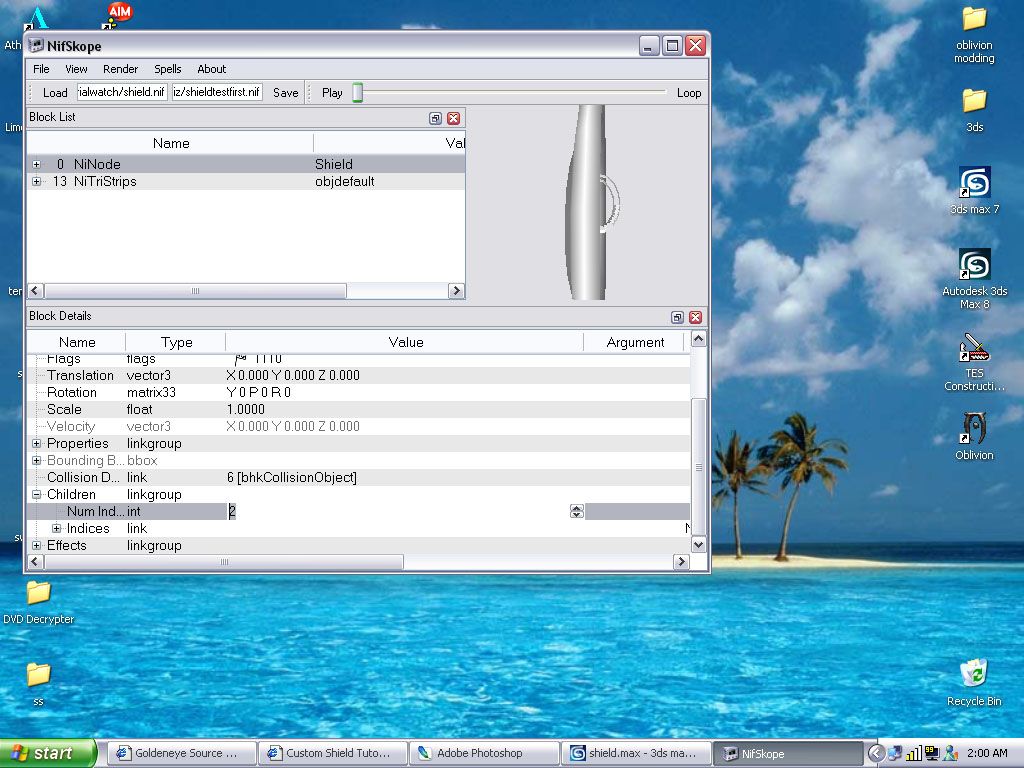
***NOTE: Make Sure you have Block Details turned on you can do this by view and select it or you can press f2
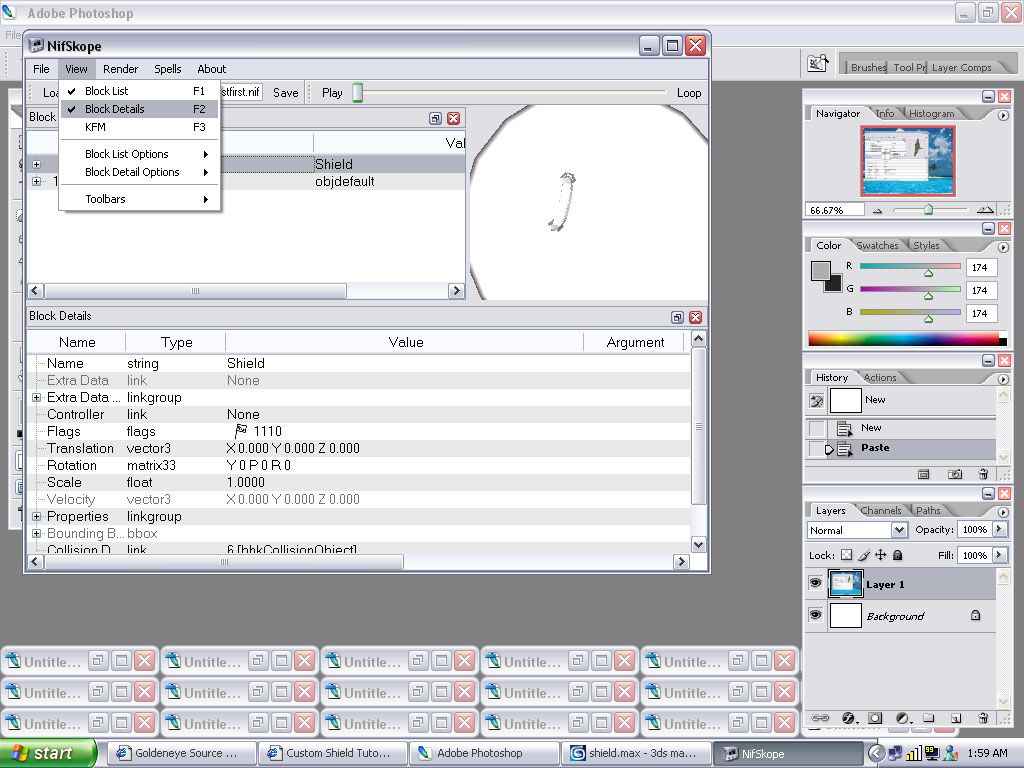
14. Right click, update array. If you haven't, expand indices. Right click the new slot and change it to the block number that your copied NiTriStrips received look for the number of the block you pasted in
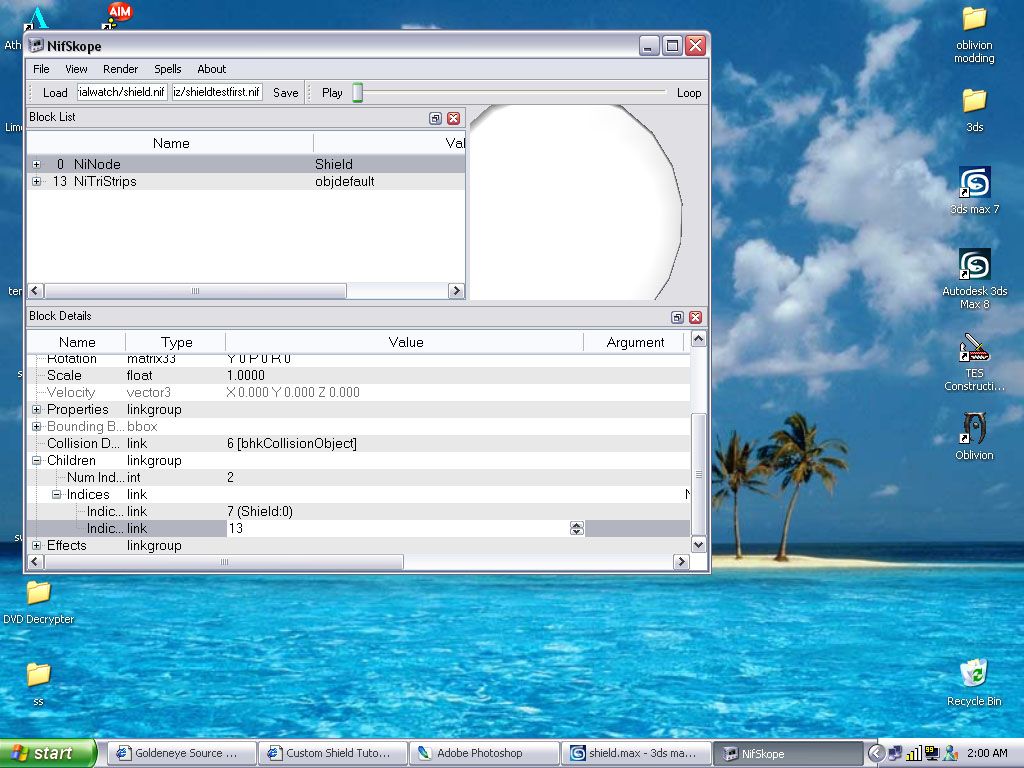
15. Click the old mesh, right click its NiTriStrips, go to flag. Check hidden.
16. Click your new shield and right click NiTriStrips and select flags and select Collision Detection continue
17. Finally, make sure the texture node of YOUR mesh (should have been copied over with NiTriStrips) is going out to the correct dds. Save the file. This is your dds texture and path
Thanks Edgeof Forever
Now back to CS
18. Load the Oblivion.esm file
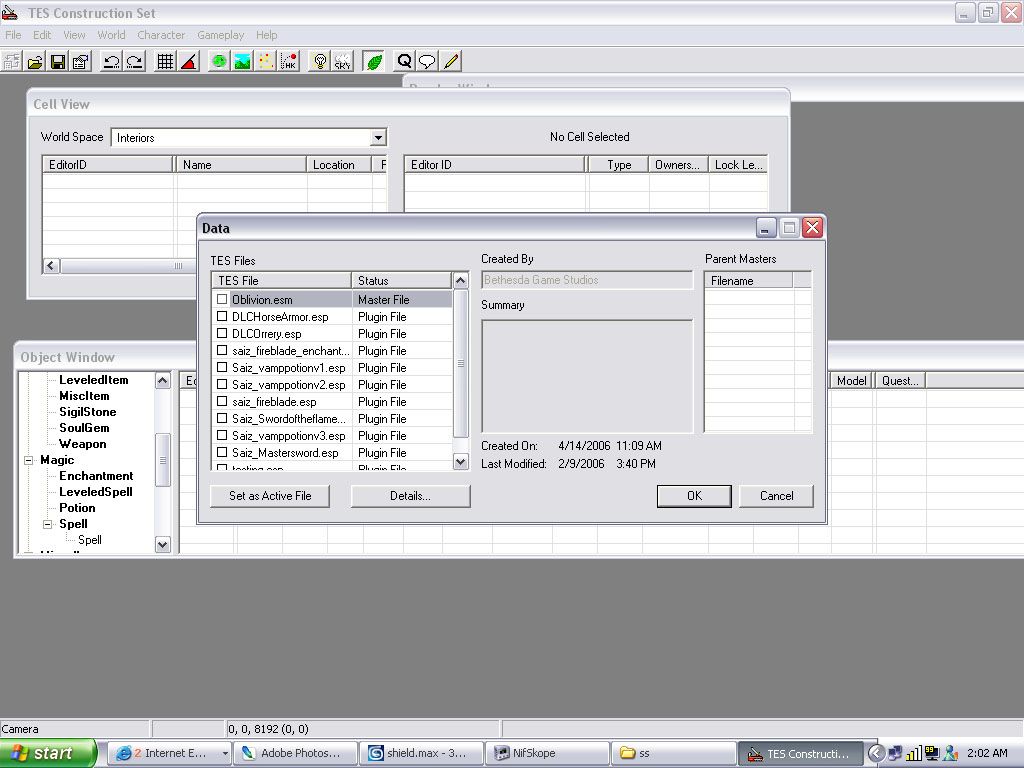
19. Now Select armors
20. Right Click and select New
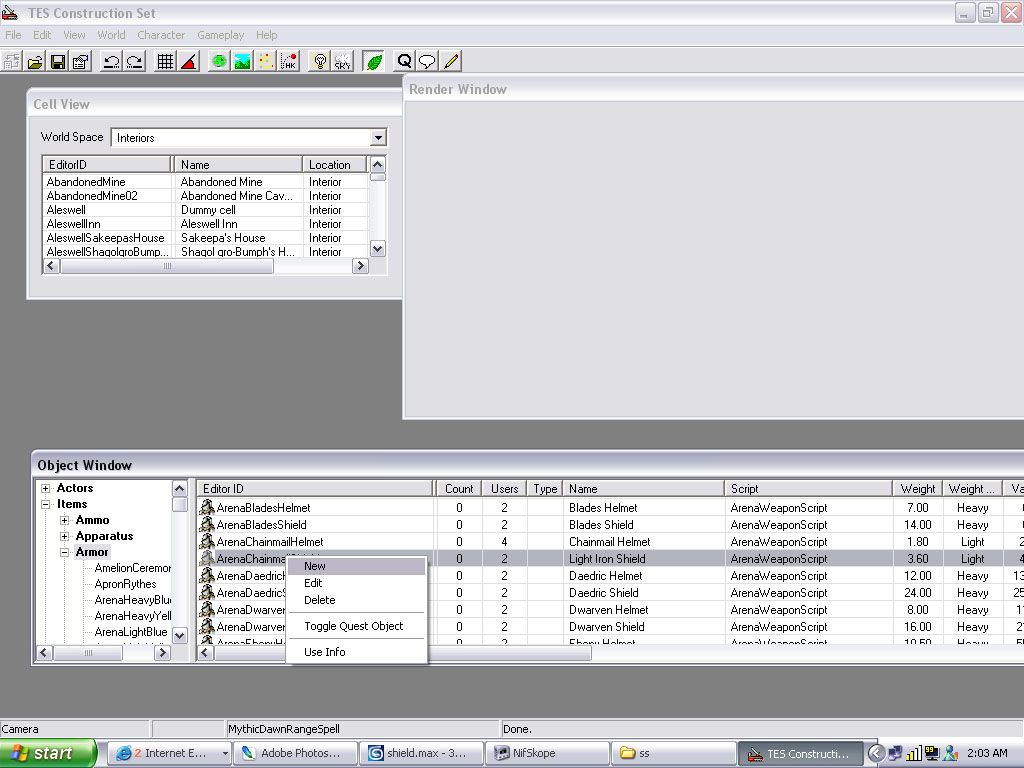
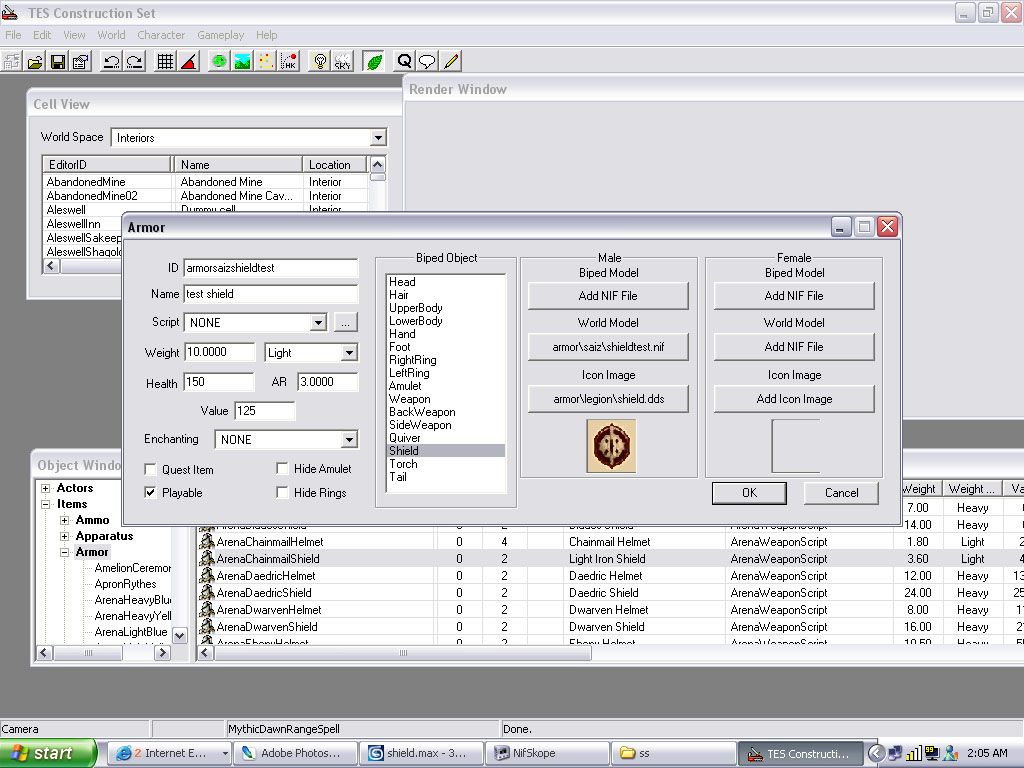
21. Now on the right for the models for both the view and world models select the .nif you saved.
22. Now In the list select Shield.
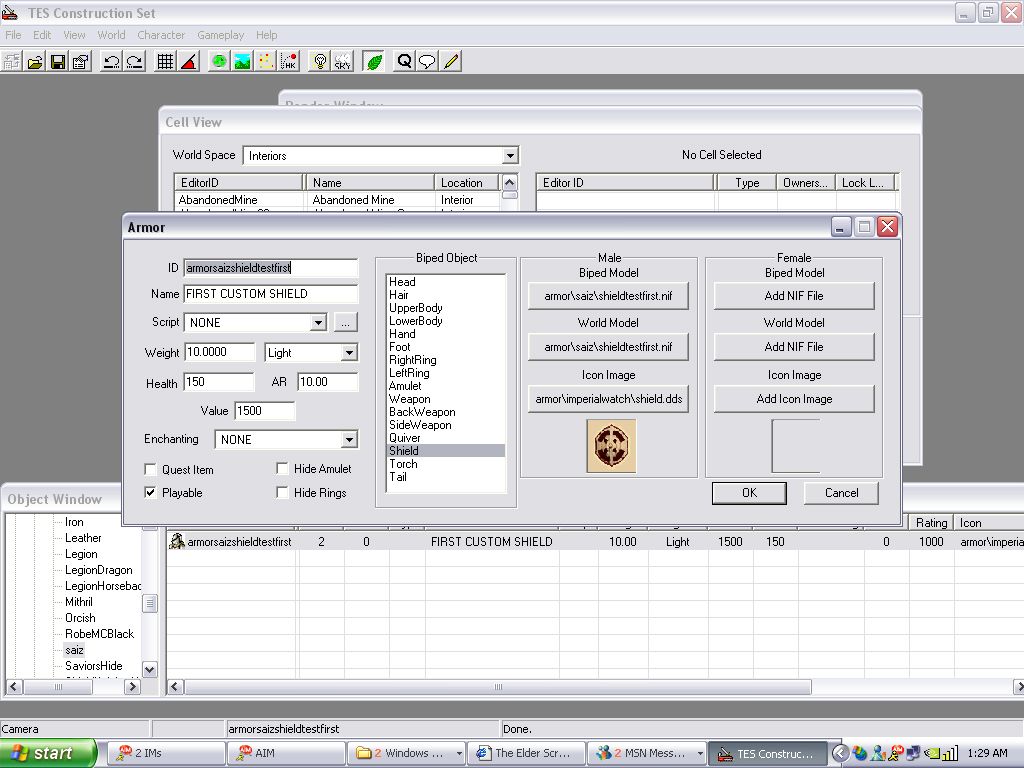
23. On the values on the left choose the weight and the AR (Attack Resistance), Type (Light or heavy) , and Health
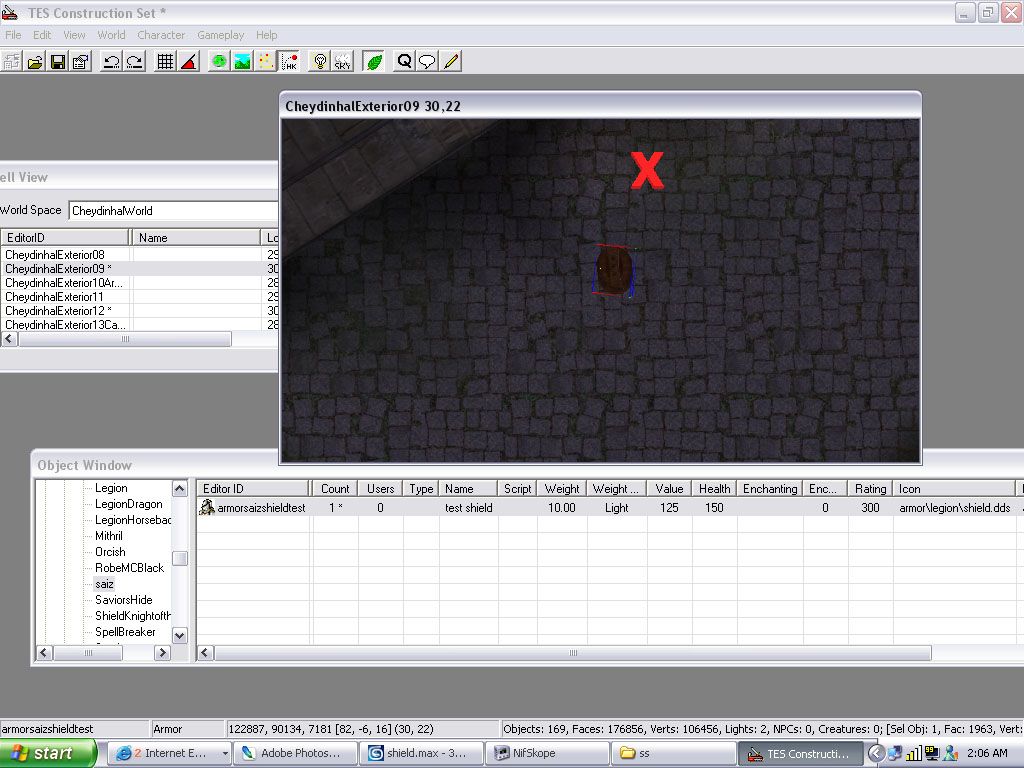
24. Select a cell and drop your model in it and test for collisions.
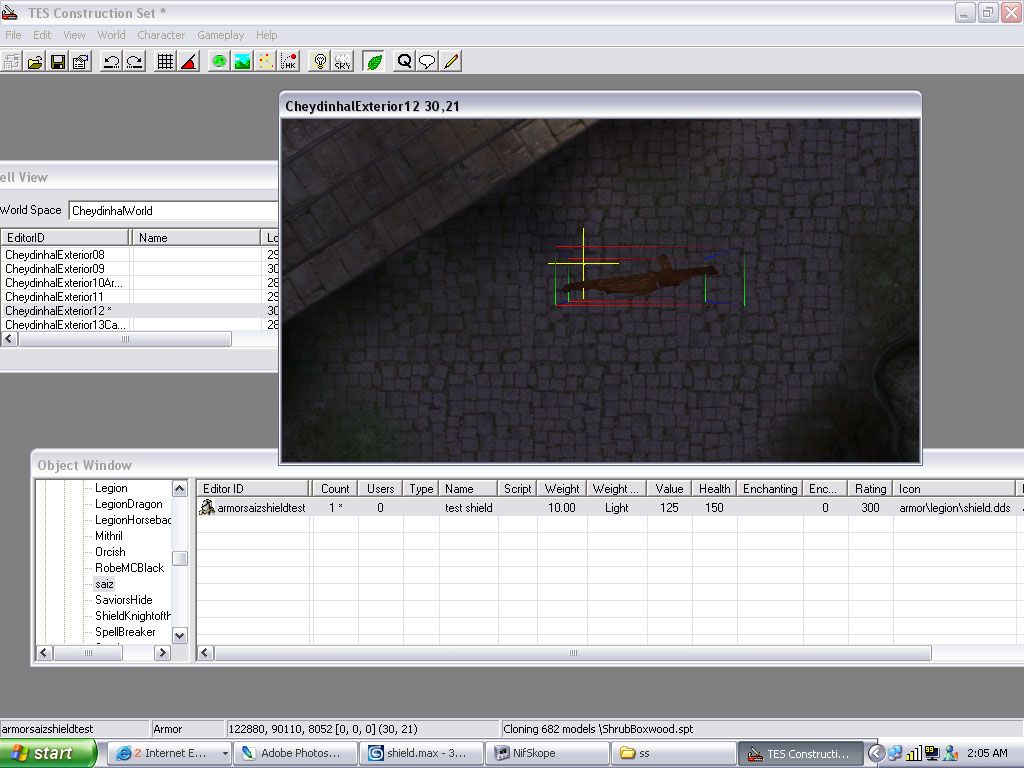
25. Once collisions are tested you can close and save and play the game with a custom shield.
26. Now save and activate your new shield
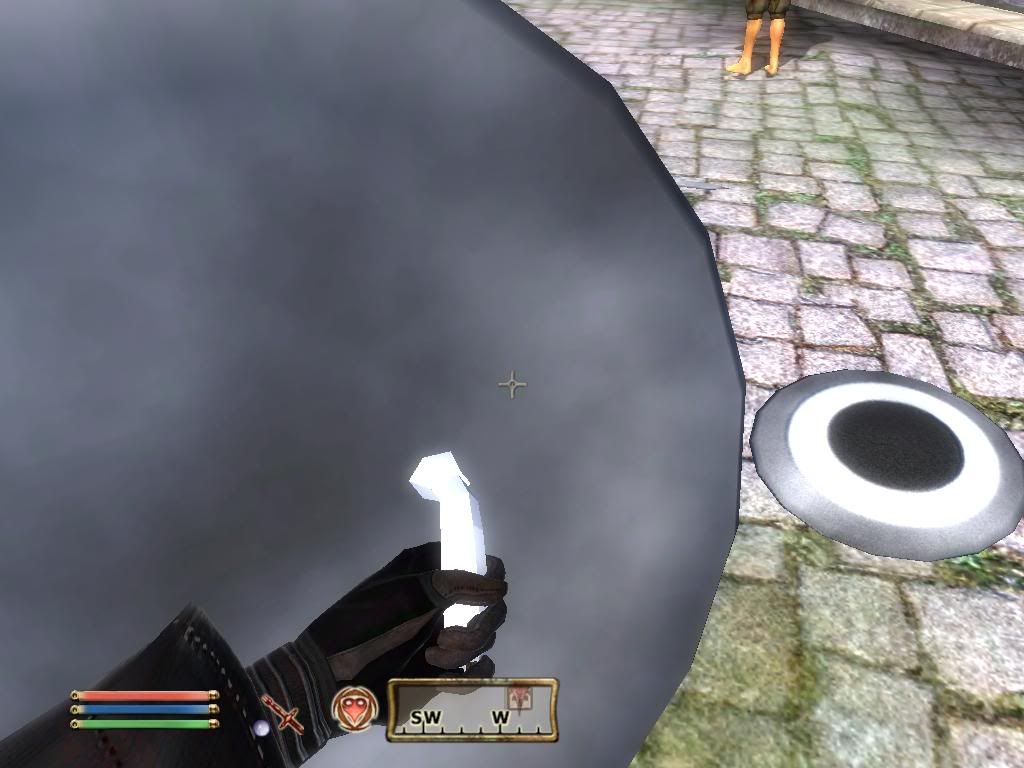
Here is just a quick example of a shield from this tutorial (Very fast one but it works)
HERE IS AN EXAMPLE CUSTOM SHIELD
***Tutorial still in progress if you have problems just ask
Plans for next Version
V1.8 Custom handles and Alternative to hiding referance mesh (In progress by Edgeofforever and me)
Change Log
V1.0 Change and added notes
V1.1 Updated the shield rotation
V1.2 Updated the shield and handle rotation separate
V1.3 Updated the New Shield rotations. Old Ones listed did not line up with the referance.
V1.4 Added example picture
V1.5 Cleared up step 5 and added 2 more steps
V1.6 Cleared up Edge's Tutorial and added some steps for shields
V1.7 Added Pics, and Clarified step 11, fixed typos
Special thanks the Edgeofforever with the civilization importer and NifSkope help
A seperate article[edit | edit source]
Concerning Mesh/texture tools needed for basic modding/creating. THIS IS FREEWARE, rather than 3000$ software packages, and this is what modders use for meshing/texturing if they do not have such things as 3ds max. For keyword sakes so as to help out more people; read this to start meshing/texturing.
A Ctrl+c that I got from phitt concerning the broad topic: "You don't need any commercial software for it. There is Blender for modeling and the NifScripts to import/export meshes in gamebryo format. There is GIMP for texturing. You also need Nifskope (which you've already got as I can see from your post, but make sure you've got the latest version). All these programs have a very high quality, but are harder to handle imo and have a few functions less than 3ds max and Photoshop. For tutorials search the wiki and the sites I've linked to.
PS If you're at university (college or whatever it is called where you come from) or know someone that does something with computers there you can get max for 200$ already (instead of 3000$ wacko.gif)." I am to blame for this edit if I am not supposed to share the knowledge.-supergothmailboxstalker