3ds Max: Lofting, and it's efficiency in collision modelling
This article has been marked by editors as one needing attention. Please see the Talk page for details. If you can update the article, please do so.
-=Download Max Scenes=- for this tutorial.
It's a 7-zip archive. 7-zip is a freeware zip program which can be downloaded from 7-zip.org. It can achieve superior compression compared to any other zip program out there.
What you need for this tutorial:
- NifSkope (optional)
I don't know who first discovered that lofting produced more efficient collision models. I read a comment about it on ESF, something along the lines of that "someone had gotten it to work and it was better". So I tried it out, it worked like a charm, and so I thought I'd write a tutorial. But I want to make clear that I was not the one who discovered it.
I'm not an expert, and I'm not saying that this method is the best possible way to go about this - only that it works.
WHAT IS LOFTING?
Lofting is a way of modelling based on splines. Usually you would model with modifying primitives, or create splines that are quickly converted to editable meshes, or whichever way you prefer. But by lofting a spline you're creating a threedimensional object that'll never be an editable mesh.
WHY SHOULD I LEARN TO USE IT?
Lofting splines produces more efficient collision models. In other words you can improve the performance of your models in-game, or get collision molded closer to your model without sacrificing any.
WHY IS IT MORE EFFICIENT?
Hmm. Hmmmmm... *cough*. I don't have the faintest idea :D It's a fact that can be proven though, which I'll show at the end of the tutorial.
1.[edit | edit source]

Open TutorialScene01.max, which looks like the image above. There are two objects in the scene;
- CollisionBoxModel is, despite its name, the threedimensional object since I was creating my own collision box object during this job.
- CollisionLine is a spline I created that will form the base for the collision.
As you see, I drew the spline so that it would match the silhouette of the threedimensional object. Before I discovered lofting, I would have converted it to an editable mesh, extruded the polygon, then added a Cap Holes modifier, then just to be sure I would have added an Optimize modifier just to be sure there were no redundant faces.
What you should do now is create a new Spline consisting of only two vertices. Place the first vertice at X0 Y0 Z0 and the second vertice at X0 Y55,8 Z0 so that you end up with a simple line. This line will be used for what is called a "path". It will tell CollisionLine how it should extend.
2.[edit | edit source]
Open TutorialScene02.max, which looks like the image above. As you see I've created the line mentioned in the previous paragraph.
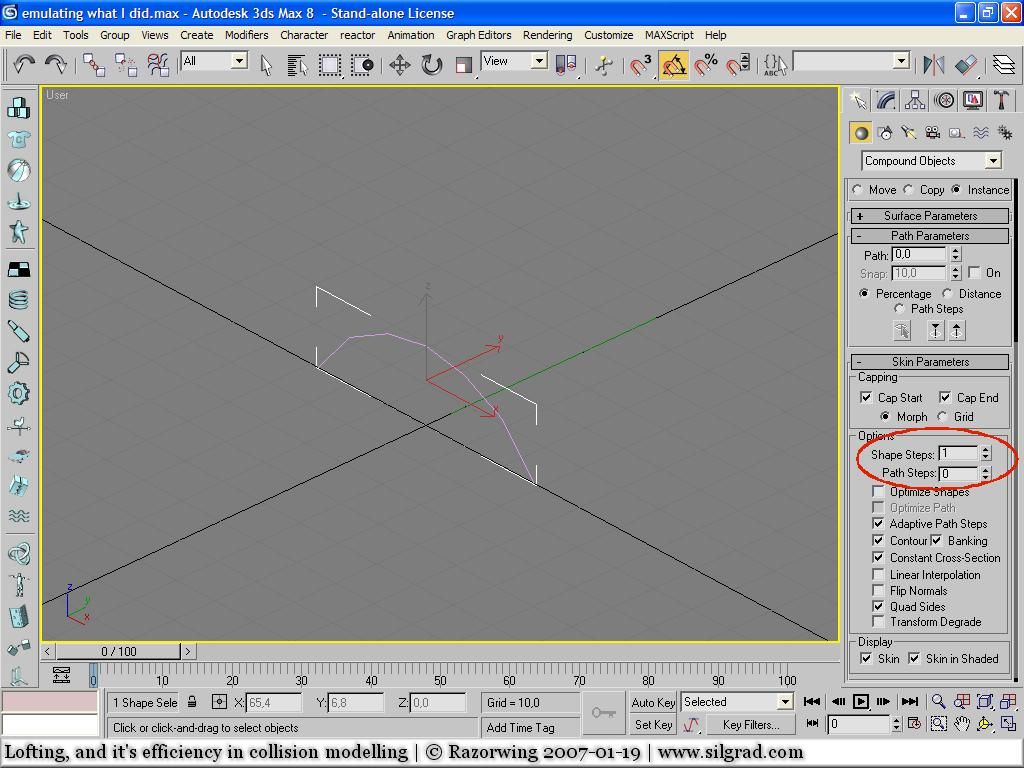
Select CollisionLine. Now go to the Create panel, select Compound Objects in the drop-down list, and click the Loft button.
In the Loft rollout, find the Skin Parameters and expand it. Set the Shape Steps to 1 and Path Steps to 0. (Image #1)
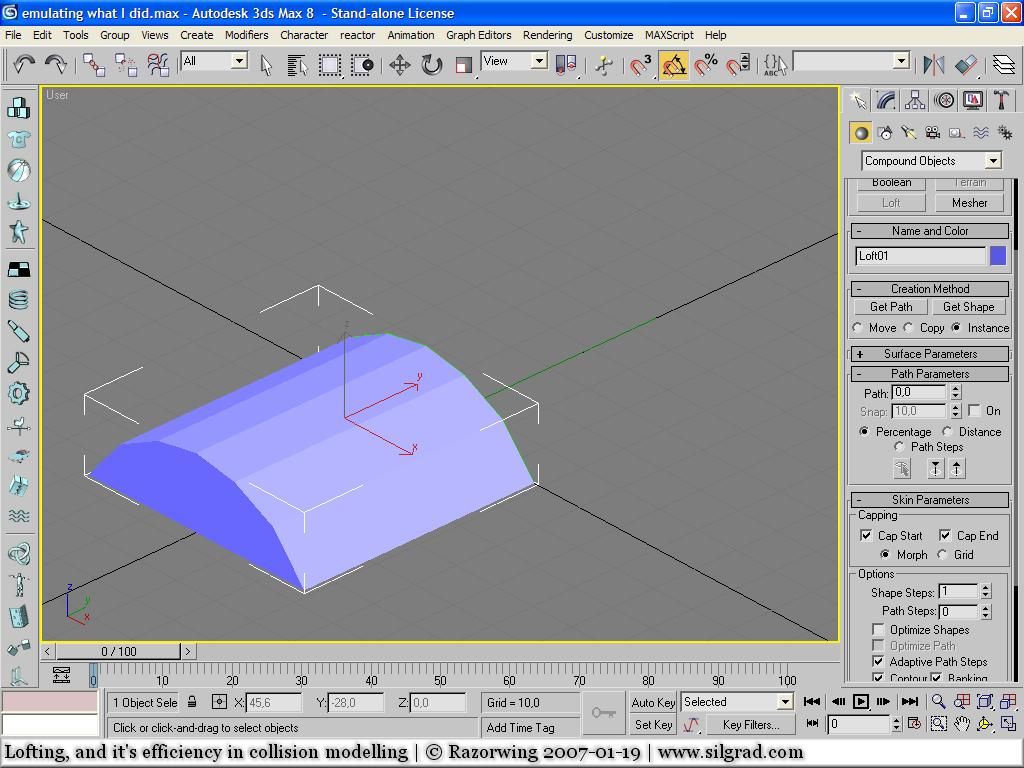
Now, under Creation Method, click the button Get Path. With the button depressed, click on the LineForLoft, and it should look like Image #2.
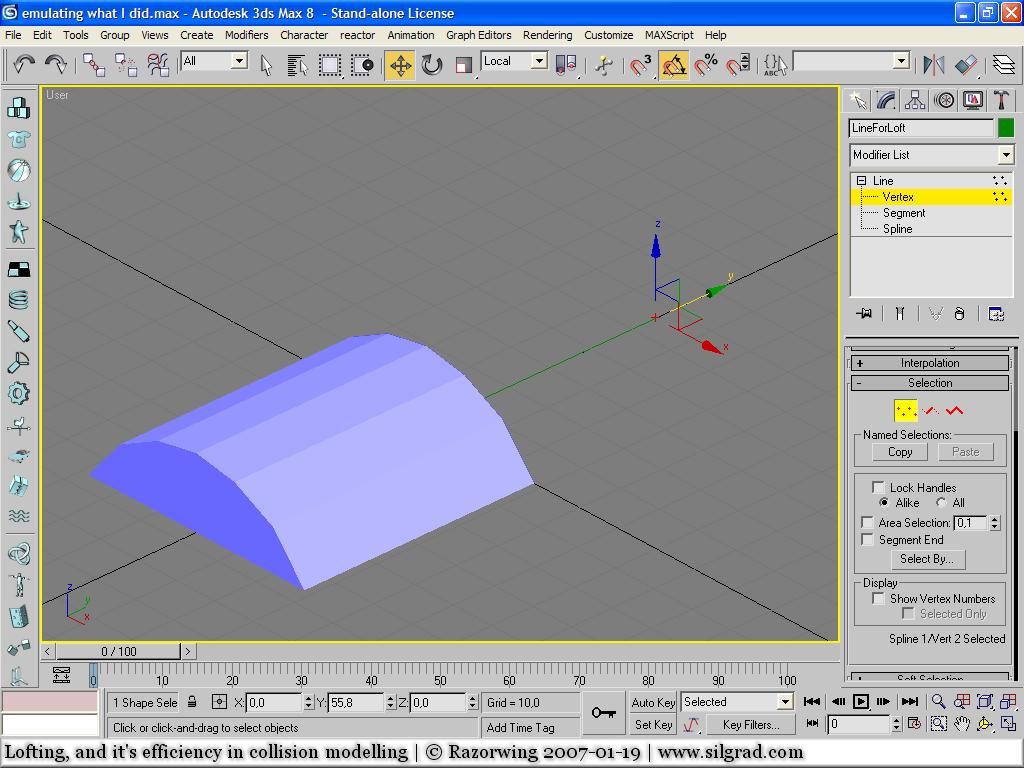
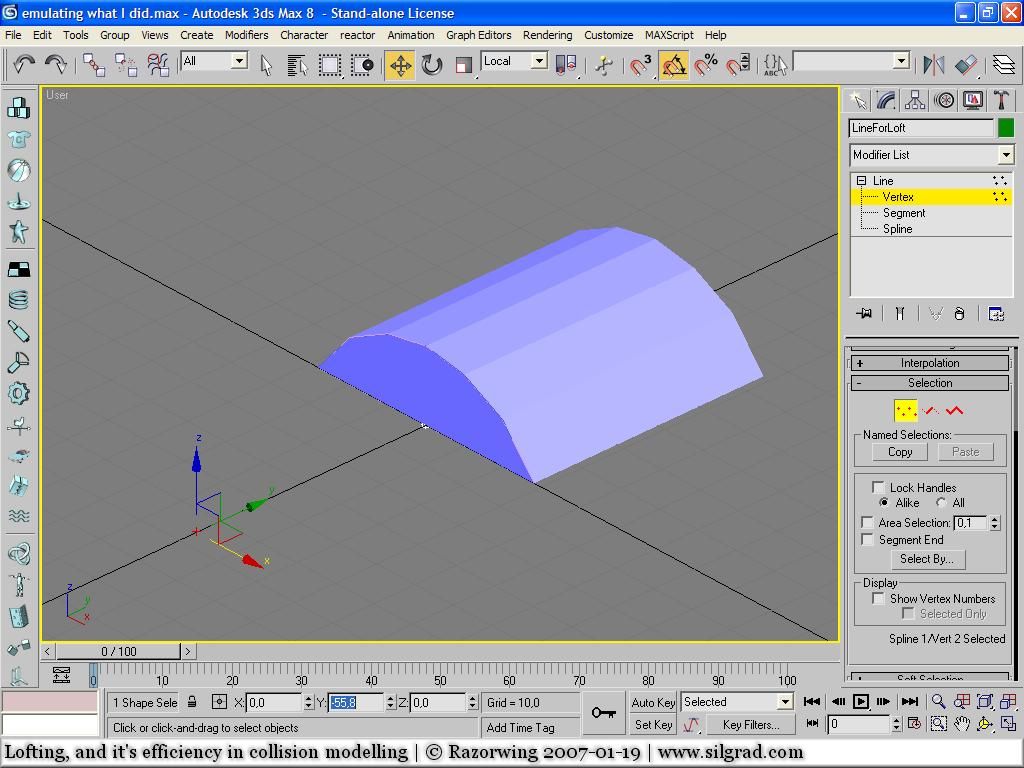
As you see, the Loft model extruded the wrong way. I'm not sure why it does that, but it can be fixed very easily. Select LineForLoft, which through the lofting process has now been connected to CollisionLine. In the Line modifier, select Vertex, then select the far vertex. (Image #3) Just for fun, try to drag it around a bit and you'll see some interesting things happening with CollisionLine. :D When you're done, set the coordinates of that vertex to X0 Y-55,8 Z0. Presto, it's flipped to where it should be for this model. (Image #4)
Delete LineForLoft and CollisionLine from the scene, you won't need them anymore. If you've been working on your own model in this tutorial you should keep a copy of them for backup purposes, it may come in handy. They should not be exported with the model though.
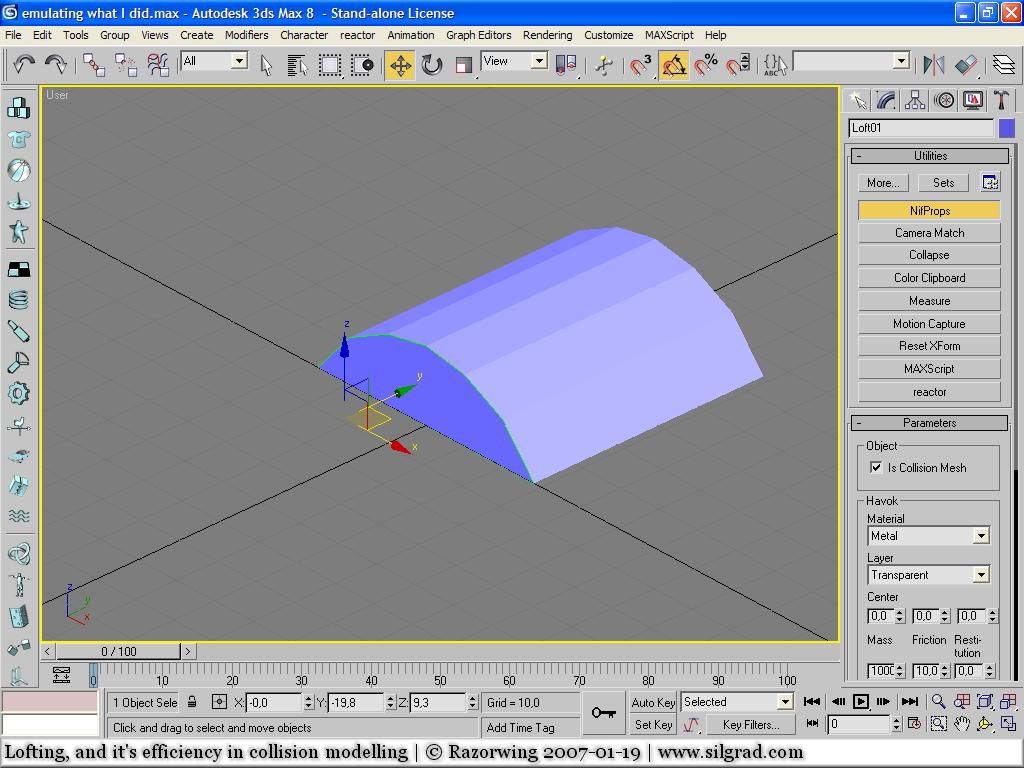
Like you would normally do, select the collision model, go to the Utilities panel, click on the NifProps button, tick "Is Collision Mesh" and set the appropriate material and layer settings. Since my model is an invisible speedbump to facilitate movement, I went with Metal and Transparant. You'd think it would be Ground, but if I had used that layer the player would have seen the yellow frame. (Image #5)
3.[edit | edit source]

If you haven't completed step 2, or if you want to doublecheck if my description of step 2 made sense, open TutorialScene03.max which looks like the image above.
All that's left now is to export the model like you would usually do. But what I would suggest is that you check out the two nifs I included in the Experiments folder in NifSkope. Select the NiTriStripsData block, then scroll down the Block Details window until you find the value Num Triangles. This value equals the collision model's facecount. In the case of the lofted collision there are 64 triangles, while the usual collision resulted in 96. The more complex your collision, the more noticeable the optimization effect is.
Here's what the triangle info looks like:
