Photoshop: Normal Maps Basics
| Tools used in this tutorial
Required
|
The Basics of Creating/Editing Normal Maps for Textures[edit | edit source]
Before you read this tutorial, it is advised that you check out Retexturing Made Easy.
This tutorial assumes you understand some of the basics of reskinning and have at least a beginner's knowledge and experience with Adobe Photoshop.
This tutorial deals with normal maps. You know, those blue textures that look like they're important, but you just don't know enough to where you could actually do something with them.
Some people don't even touch them, they just copy them over to the new mesh and hope that someone isn't going to notice they haven't changed them. You may have looked at tutorials regarding normal maps before, but you either didn't understand them, or found that some of what's said in the tutorial doesn't quite work with Oblivion.
Well, I hope to fix that with this handy little tutorial. Using Photoshop, I'm going to show you how to edit those normal maps and make your armor shine (literally).
So how do you get started?
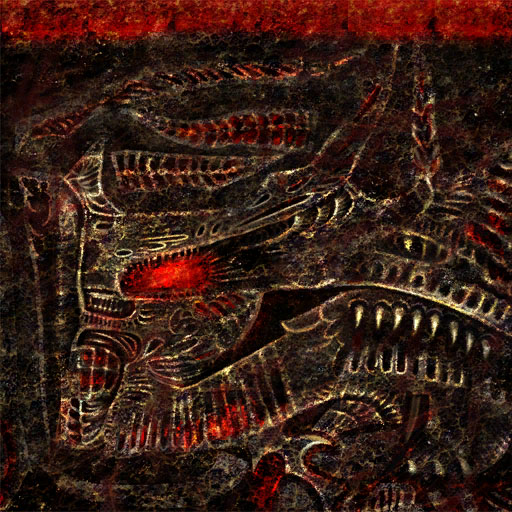
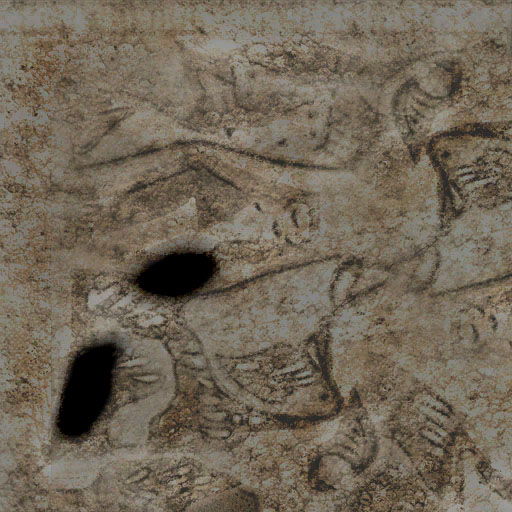
For this tutorial, I decided to use a reskin of a daedric helmet as an example. For this example, I decided to reskin the daedric helmet from a black and red helmet to a light, yellowish bone-like texture. The first thing you're going to want to do is reskin the color map.
I assume you have read the tutorials regarding the basics of reskinning, thus most of you are probably familiar with how to reskin one of those, so I'm not going to bother going into the specifics of how to reskin one. For my reskin, I borrowed a texture from Hard_Rocker's Dragonbone armor [1] and did a little tweaking to the brightness and contrast. I also wanted the helmet to have dark eyeholes instead of bright glowing eyes, so I just burned the areas where the eyes and mouth are.
My result.
This is the point where most people stop. But since you want the helmet to look like it's actually made of bone, the normal map is critical to getting the skin to look correct in game. If you don't change it, you're just going to end up with pale yellow Daedric armor, not Dragon bone armor.
Here comes the good part.
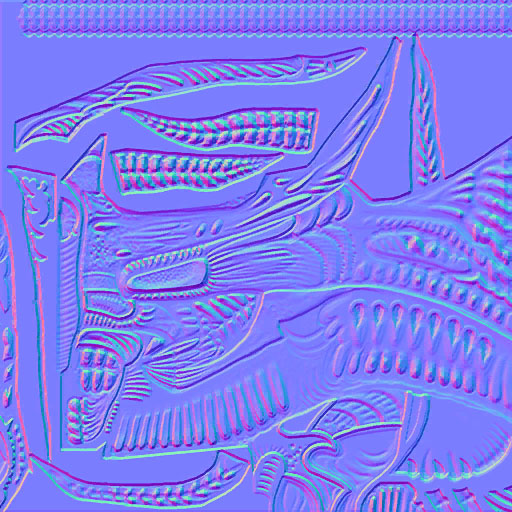
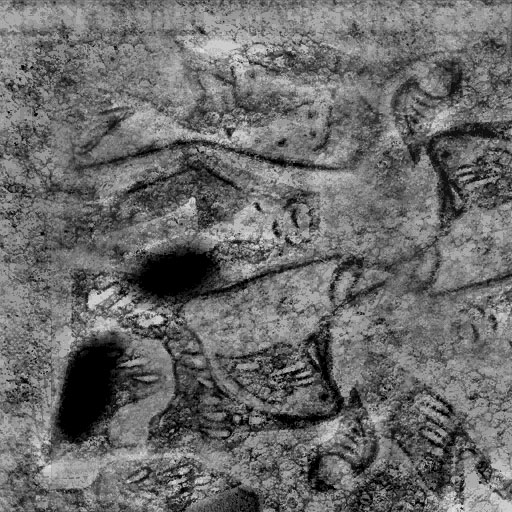
Now it's time to open up the texture with the _n suffix. It should look like this.
Leave the color map open, because you're going to need it.
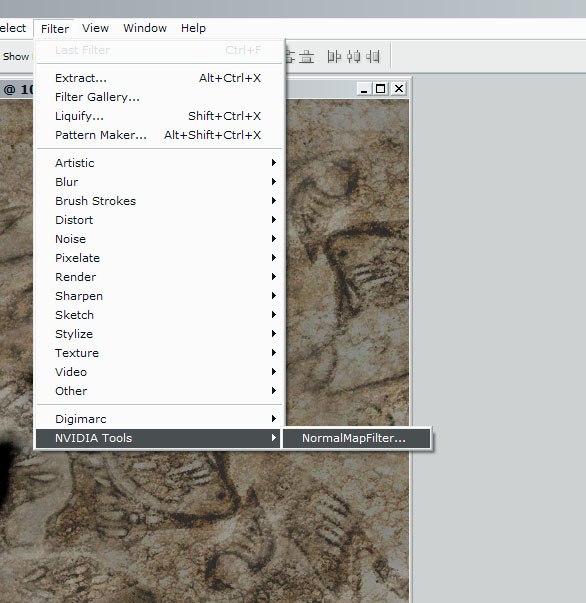
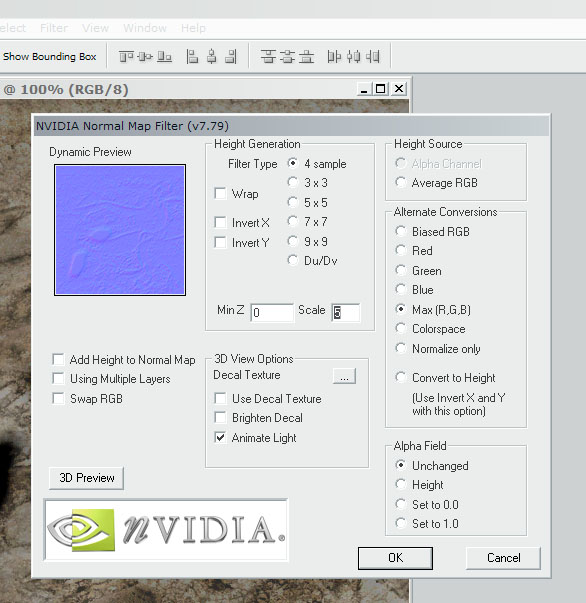
If you have the Nvidia plugin installed, you should notice that there was a new filter added to your Filter menu. It should look like this.
Make sure that you have your color map as the active file in Photoshop, and click on the normal map filter to bring up the dialog box.
Now switch the settings to these.
I wouldn't suggest changing any of them after this, except for the Scale. The Scale affects how defined the bumps on a texture will be, so if your normal map is producing a rather smooth texture and you want it to be more rough, increase the Scale. For now we are only dealing with the basics.
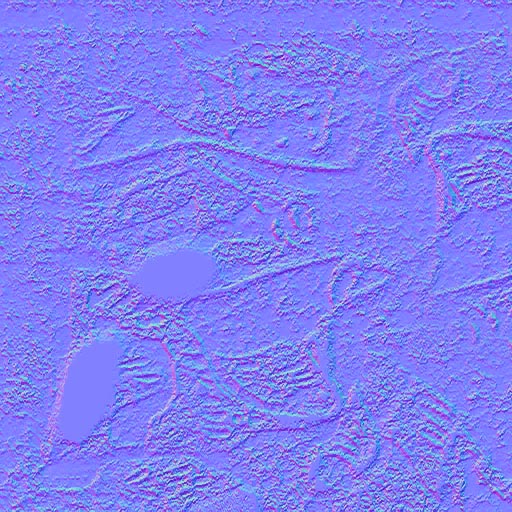
Apply the filter, and your texture should change to something like this.
You'll notice that the darker areas of the texture suddenly became 3D, and now the texture looks like it's been turned inside out. Don't worry, that's what's supposed to happen. Copy the image, and paste it onto the normal map you opened earlier.
Now under the layer view, there should be a Channels tab. Click it, and then click on the Alpha channel.
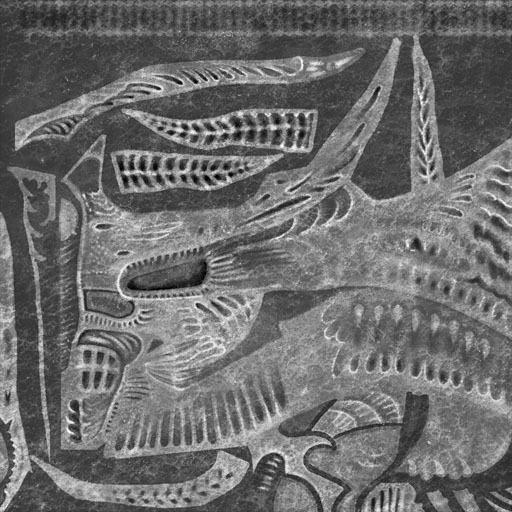
You'll notice that the alpha channel looks similar to the Daedric color map, just that it's black and white, and some areas are brighter than normal. As I said before, those bright areas will thus be more reflective ingame.
Go back to your color map and undo the normal map filter if you haven't already. Copy the image and paste it into the alpha channel of the normal map. You might notice that it immediately turns it to grayscale, saving you the trouble of an extra step. Mine looked like this.
The finished product.
Now you can save the normal map and the color map. When the dialog box opens up to ask you what format to save the .dds files as, choose DXT3 for both of them, and leave any extra settings to default. In fact, if you haven't edited the settings before, don't even touch them, just save it as DXT3.
If the textures came with a another one with a _g suffix, like the Daedric armor does, you can either leave that alone or edit it as well. The _g works the same way as the alpha channel in the normal map, except that adding white areas to the texture makes those areas glow ingame. If you don't want your textures glowing at all, just paint the entire texture black. Be sure to save that as DXT3 as well.
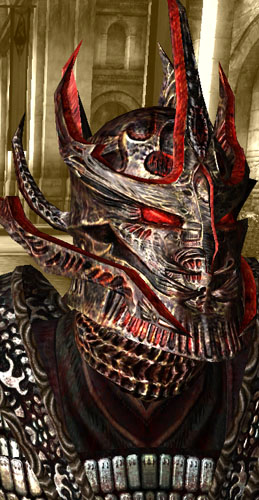
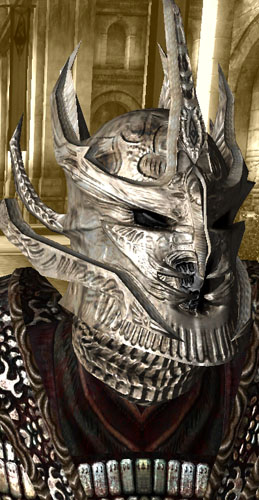
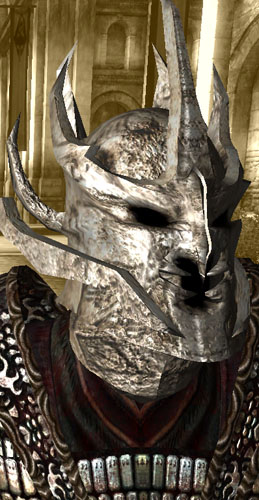
Here's some before and after screenshots from my texturing job.
Original Daedric helmet.
Daedric helmet with the new color map.
Daedric helmet with the new normal map.
Now you're on your own.
From here, you can try messing with the normal maps to create more advanced effects. Try increasing the brightness of a texture before applying a normal map to it, or try darkening it. Try making the alpha channel all black or all white. And don't forget about the advanced options available with the normal map filter; sometimes you can find out some cool things through trial and error.
Normal maps and alpha channels revolve around darkness and brightness, so use as many dodging and burning techniques as you can to get the desired effect. You can even create your own normal maps and then paste them over the old ones, and then blend the two together.
That's it for now. I'll add more information concerning the advanced features of normal maps when I learn more about them.
